What is a hair fascinator? It is a hair doodad that you wear instead of a hat. They are often trimmed with tulle and feathers. Remember you can enlarge the photos by clicking on them.
- First I gathered all the parts together that I thought I might need. I rinsed out and dried a 2 Liter soda bottle to make the support for the fascinator.
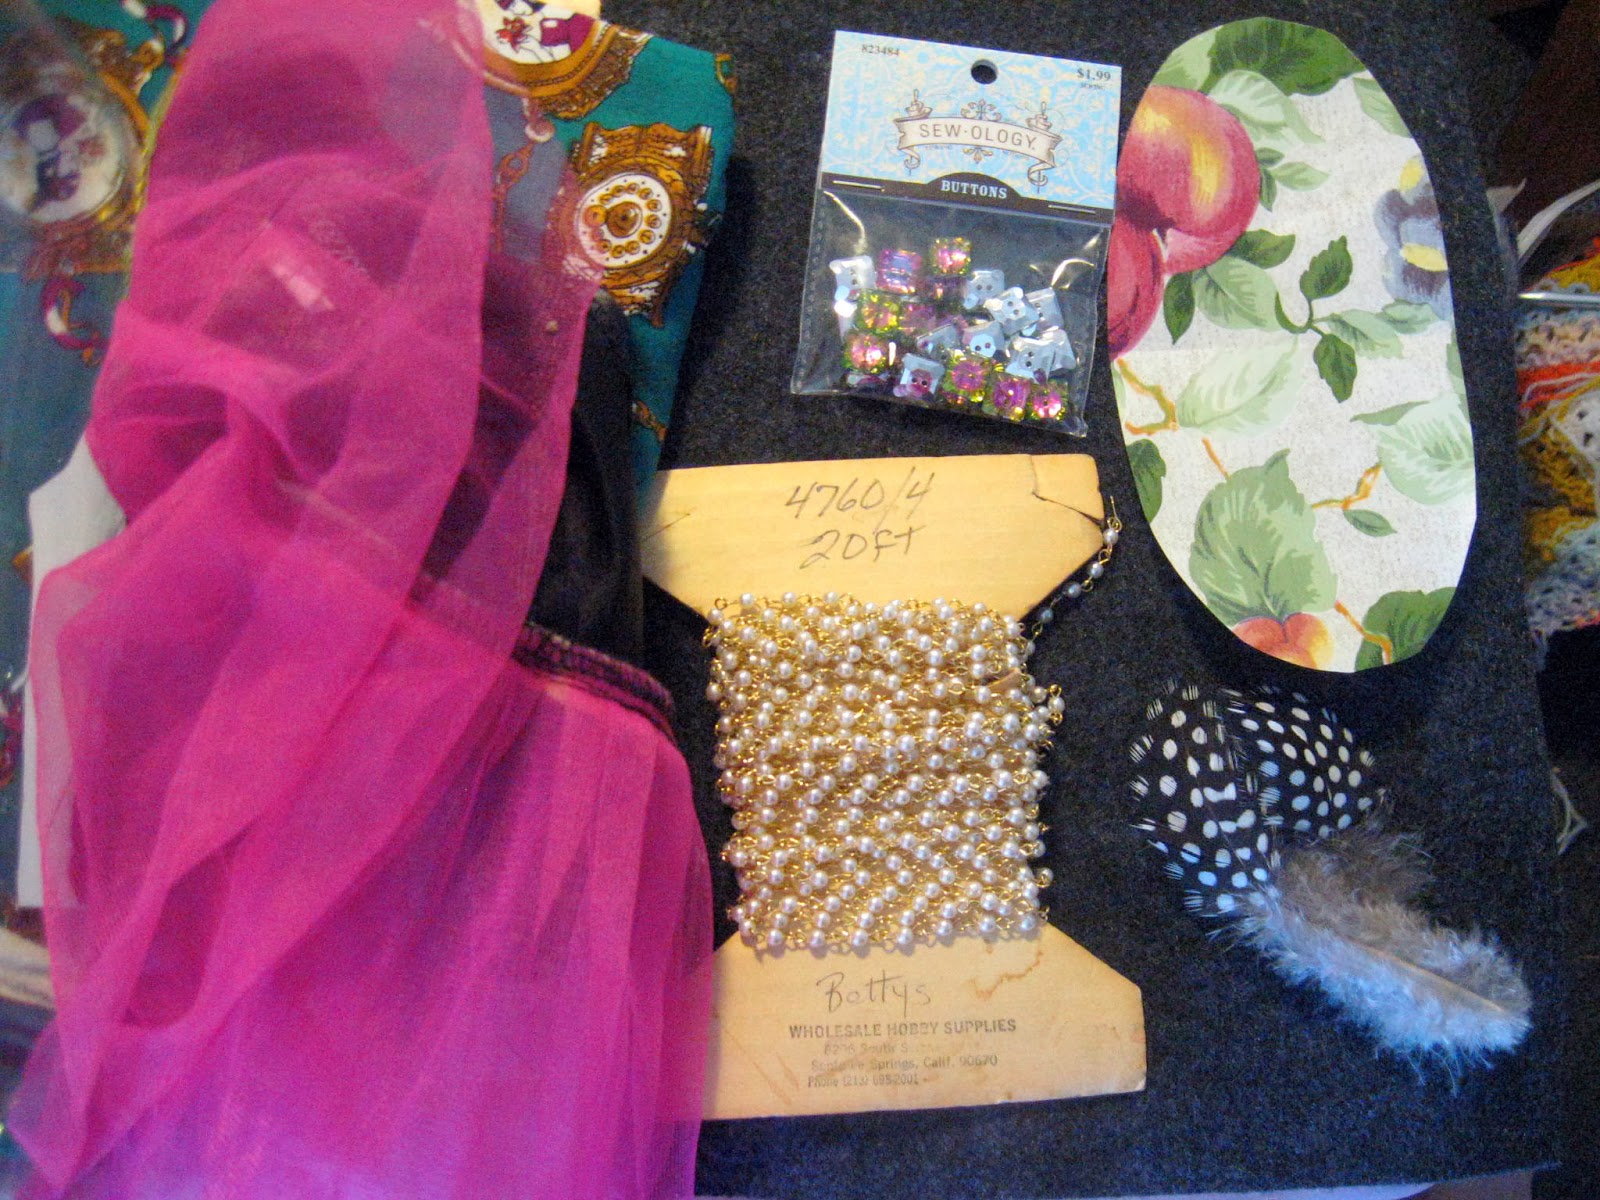 |
| From left to right: Soda bottle, fabric, pink tulle, square buttons, gray felt, contact paper pattern, feathers, and pearl trim. |
2. I cut an oval out of the contact paper. I picked this so it would be flexible. I held it against the bottle and traced around it with a Sharpie marker. Then I cut out my oval. This goes inside the fascinator and since it has a curve it fits the shape of your head. I saved the pattern to cut out the fabric and the lining. When I cut the fabric, I allowed 1/4" seam allowance. On the future ones I'll add 1/2".
 |
| Save the pattern for the plastic, the fabric, and the felt lining. |
 |
| Hold the pattern to the bottle and trace around it. |
 |
Carefully cut out the oval and clean up the edges a bit.
3. Now think of it as a sandwich. You are going to have 3 layers: Fabric, plastic center, & felt lining. Got it? I placed the fabric on top of the plastic and used a sharp needle to
tack it through the plastic at both ends with a needle and thread to line it up. I
recommend using a thimble. Then I ran a running stitch along the edge to
get it to fold around the plastic. Then I sewed the gold pearl and chain trim around the perimeter.
I only sewed through the plastic when I had to. When I sewed the pearl trim on, it is 'couched' onto the green fabric; not through the plastic.
|
|
4. The pink tulle came from a costume I bought to rip apart last Oct. I tacked that to one end, followed by the feathers and then a gold 'knot' button to cover up the ends.
 |
| You can still see the plastic inside the fascinator. This will be covered by the gray felt lining. |
|
 |
| I am amused that the fabric I picked has an illustration of a woman wearing a fascinator. |
 |
| Love these square buttons. I used 3 on the fascinator. They'll look great on the dance floor. |
|
|
 |
| Polka dotted guinea hen feathers. |
 |
| I sewed the buttons through the plastic. |
5. After you sew on everything you are going to add, it's time to sew on the felt lining. Line it up carefully, tuck the cover fabric under it and sew the edges together with a whip stitch as neatly as possible. Most people would then attach it to an Alice band, but those are too small and pinchy. So I usually sew mine to 1/8" black elastic or stretch cording. If you have light colored hair you can use white or beige elastic.
 |
| Attaching the lining. |
6. You can do some of the steps with hot melt glue. I live in the desert and I don't feel secure using glue. But if you needed to make a bunch in a hurry for a dance recital and they'd only be worn a few times, hot melt should be a lot faster. You can also use it to keep things from shifting before you sew them. I like hand sewing, so I sewed it all together.
 |
| Hair Fascinator by Fayme Harper from Pigglewiggins |
For the photos I just used bobby pins. Now I just need someone to invite me to a cocktail party or the Kentucky Derby.


No comments:
Post a Comment